This journey began with the need to replace our drastically undersized original console table and you can read more about that HERE.
Our inspiration was Ana White's Rustic X Console. We followed Ana's wonderful free plans to construct the frame using 2" x 2" and 2" x 4" boards. These were the only boards we had to purchase, as we had the two shelf boards (1" x 12" each) and three tabletop boards (2" x 6" each) on hand.
The finished dimensions are a whopping 76-1/2" x 18" x 32" - a little over 6 feet, making it much more appropriately sized for our 18' long wall (our original console table was only 42".)
You'll notice a few additional foyer changes as well. The wall was refreshed by adding horizontal painted stripes. Read more about that HERE.
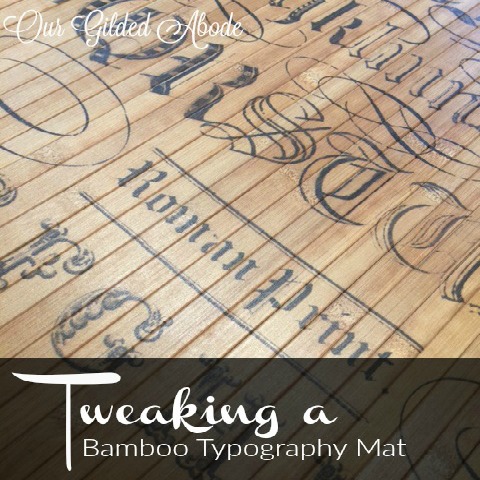
A bamboo typography mat for our front door also received a revamp and details are HERE.
Now for the table build ... please be prepared for lots of pics!
We started around noon on Saturday and completed the build on Sunday evening. Add in a couple of days for finish sanding, staining and adding hardware, and the new table was cozy and comfy in the foyer by midweek.
Be sure to check out Ana White's site for a detailed supply list, cut list and plans.
You'll notice that we opted to not include the "X" on the sides of the table.
We made lots of pocket screw holes with the Kreg jig.
Hubby veered from the plans a bit and crafted shelf side braces that allow the shelves to drop into the braces. He's creative that way! :)
We then installed the shelves and at that point, I couldn't resist moving it to the foyer to determine if the finished size was as we envisioned. Fortunately, it was!
After the build, the next decision was whether to stain, paint or a combination of both.
We stained the tabletop with General Finishes Gel Stain in Java.
Honestly, this is amazing stuff! No drips, spills or mess - it's a thick gel and goes on super nicely - just apply with a soft cloth or a brush and wipe off excess. Let dry and you can apply as many coats as you like until you reach the color intensity you desire. For this project, only one application of the stain was needed - it provided a rich dark tone, but was transparent enough to allow the wood grain to show through.
In the end, we went with stain for the entire table and love it - it adds warmth and contrast against the light neutral striped wall.
We also added hardware - corner braces - to the tabletop. To find out how we gave the bright zinc plated hardware a distressed look, check out my post HERE.
Here are a few closeups of the stain and wood grain:
The round mirror on the wall was another DIY - made with wood shims.
And, one last glimpse ...
As you can see, the table decor is constantly being changed and rearranged. I hope you enjoyed seeing how bare pine boards were transformed into a beautiful and useful piece of furniture for our home!
Thank you to Christine at Must Love Home and
Wendi at H20 Bungalow for featuring this post!
Your comments are greatly appreciated and I look forward to your thoughts and ideas! I try to respond to comments via email as soon as I can. If your email address isn't available, I will comment here. Thanks so much for visiting!
Wendi at H20 Bungalow for featuring this post!
Your comments are greatly appreciated and I look forward to your thoughts and ideas! I try to respond to comments via email as soon as I can. If your email address isn't available, I will comment here. Thanks so much for visiting!
Shared with:
DIY Vintage Chic
The Curator's Collection
The Happy Housie
The Everyday Home
Simple Nature Decor
Tidbits of Experience
The Chicken Chick
Thoughts from Alice
Bless'er House
Cozy Little House
DIY Vintage Chic
The Curator's Collection
The Happy Housie
The Everyday Home
Simple Nature Decor
Tidbits of Experience
The Chicken Chick
Thoughts from Alice
Bless'er House
Cozy Little House
Snippets of Inspiration
The Painted Drawer
Oh My Heartsie Girl
Must Love Home
Weekend Craft
The Dedicated House
The Interior Frugalista
Chic on a Shoestring Decorating
Craftberry Bush
Poofing the Pillows
The Charm of Home
Dear Creatives
Life with Lorelai
Pieced Pastimes
Mad in Crafts
Create With Joy
Refresh Restyle
Making it in the Mountains
Joyful Homemaking
A Creative Princess
Have a Daily Cup of Mrs. Olson
Up to Date Interiors


