Showing posts with label DIY & Crafts. Show all posts

Sleek Stainless Kitchen Backsplash

When we built our little home years ago, we were undecided on what to do with our kitchen backsplash.  So, we put that project on the back burner and settled in with a coat of paint ... until now. 


This was our boring but clean slate:


To narrow down our backsplash material choices, we knew we wanted a clean, sleek look without grout lines.  That's when we found these sheets of stainless tiles at Lowes:


They come in 12" square mosaic sheets and are self-adhesive.  

To prep our wall, we lightly hand sanded and wiped to remove dust.  


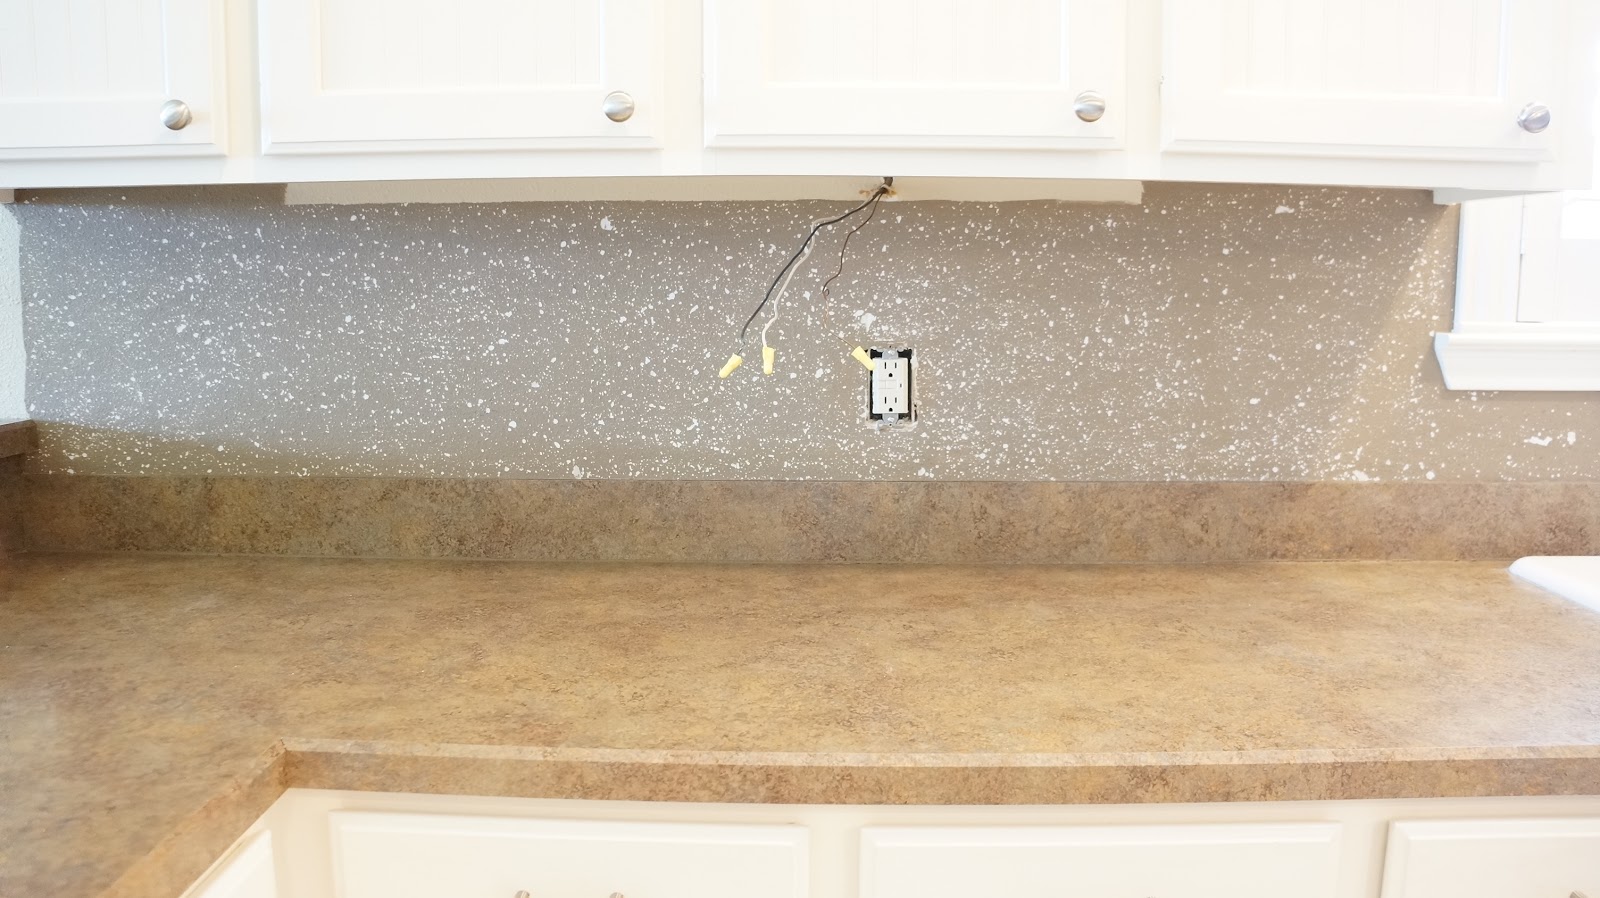
We chose to leave the 4" vertical countertop backsplash along our wall, but could have removed it to have the backsplash meet the horizontal countertop.  This was just our personal preference to leave it in place.


We also decided to replace our fluorescent undercabinet lighting with LED lighting.  Best decision ever!  The LED lighting is so much brighter and whiter.   

These were the light fixtures we chose at Home Depot:


http://www.homedepot.com/p/GE-Enbrighten-24-in-LED-Direct-Wire-Under-Cabinet-Light-34289/300049749


To install the steel mosaic sheets, we started in the corner and began applying full sheets of tiles along the bottom row.  This was the fastest and easiest row to install - no cuts!


To make custom cuts around our window frame and outlet openings, we used small tin snips.

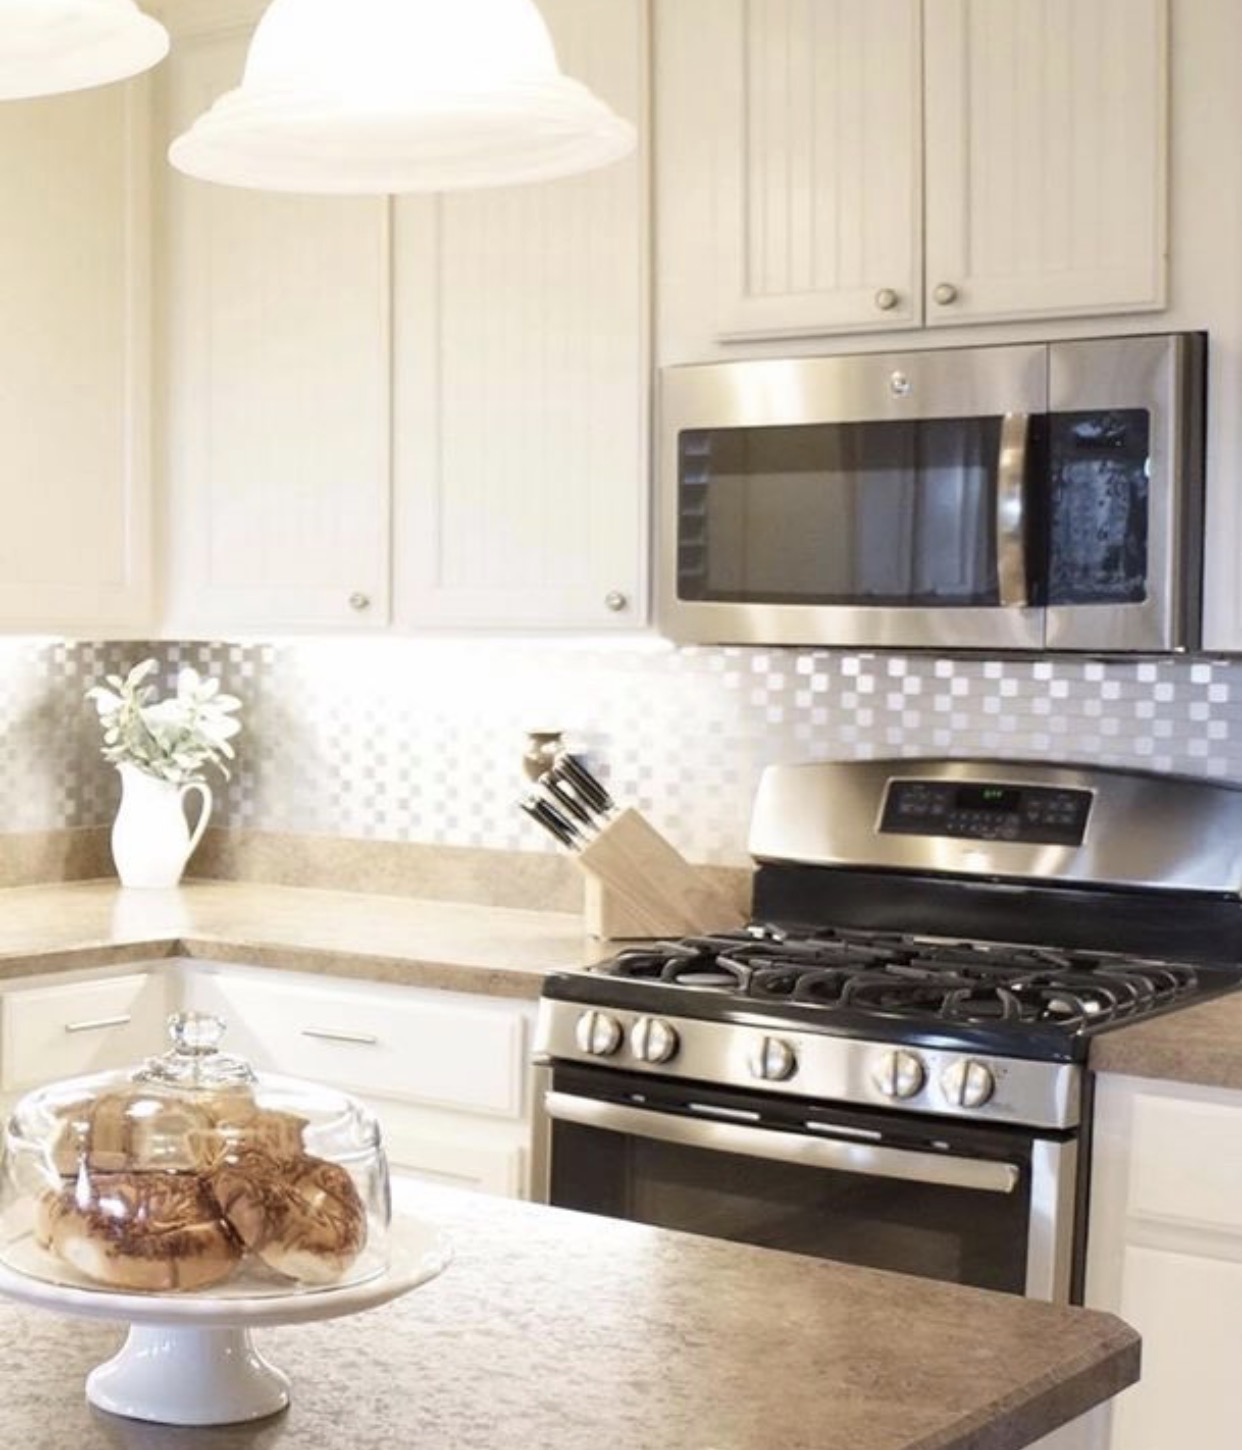
We're really pleased with how easy these steel tiles were to work with and we're enjoying the sleek and clean look of them.  They're also super easy to maintain.  If you're looking for a groutless backsplash material, please check them out.


 Shared with:
The Interior Frugalista

DIY Weathered Wood Jar Sconces

Yesterday as Mia (our pup) and I took a walk across our property, I glanced at the small stash of scrap wood I set aside for projects.  A few short hours later, these were casting a warm glow above our fireplace ...


Materials:

6 boards 30" long
4 boards 7" long
4 hooks (for hanging mason jars)
1" brad nails
1-1/2" wood screws
8 wood shims (as spacers)
2 D-ring hangers with screws
2 picture hangers with screws
4 jars
Wire
Jute string
Salt
Candles

Tools Used:

Ryobi Cordless Mitre Saw
Ryobi Cordless Drill
Ryobi Cordless Brad Nailer
Ryobi Cordless Screwdriver 

What can I say? .. We like Ryobi! 


The weather was gorgeous - sunny and slightly cool - a perfect day for an outdoor project.  


I began by cutting all the boards to length.  Thanks to the cordless mitre saw, this part of the process was quick and easy. 


I laid the boards out to determine spacing and our driveway made a great work surface.


The thickest ends of the wood shims served as spacers.


To help find the correct placement of the shorter 7" horizontal boards,  I placed jars along the sconces and found I liked them best with 11-1/2" spacing between the 7" horizontal boards.


Using the brad nailer, I tacked the 7" horizontal boards to the long vertical boards. This secured them, allowing me to flip the sconce over to install 1-1/2" screws thru the underside with the drill.


But before putting in any screws, I made pilot holes, to prevent the dry and weathered wood from splitting.


At this point I installed D-ring hangers on the back of each sconce.


Flipping the sconce back over to the front, I then attached a hook to the center of each horizontal board.


That completed the sconce assembly.

Now for the jars!


You don't really have to rush out to buy brand new canning jars (unless you want to).  Any clear jar from pasta sauce, pickles, salsa, etc. work just as well.  


Wire wrapped tightly around each jar ring formed a loop for hanging.

A length of thick jute string wrapped around the top of the jar and tied in a double knot adds a rustic touch.

Each jar contains a votive candle resting on a layer of regular table salt. Epsom salt, sand or pebbles can also be used if you like.


Battery operated votives or tea lights are a nice alternative to regular candles and the jars can also be used as vases.  Be sure to check out Pinterest for lots of cute variations.


With the sconces built, I enlisted my sweet hubby to hang them above the fireplace.  He used these picture hangers to ensure they stayed securely on the wall - they're a little more heavy duty than was actually necessary, but we already had them on hand:


Picture Hanger
Picture Hanger


Nothing beats the fun of brainstorming a project and having it completed all in one day - that doesn't happen all that often (at least in my world).  


Thanks to all the materials we already had on hand, the total cost for this project was only $6.84 for the 4 hooks.  Yay!


Your comments are greatly appreciated and I look forward to your thoughts and ideas!  I try to respond to comments via email as soon as I can. If your email address isn't available, I will comment here. Thanks so much for visiting!


Shared with:


Creating a Blessings Jar & Free Printables

Doesn't it seem as if last year just zipped right by in the blink of an eye? Here's a great idea for being mindful of our blessings in the coming year!


The beauty of closing one year and welcoming a new is that we get a fresh 365 days to accomplish new things, set new goals, and formulate new plans.  We can use the time to complete any unfinished projects and goals from the previous year.

It's also a great opportunity to reminisce and be thankful for all the blessings that we encountered in the past year.  The big and monumental blessings are stamped in our memories, but the small positive day-to-day experiences may be a little more difficult to recall. 

That's where a Blessings Jar can come in quite handy.


Ideas for creating them are all over Pinterest and can be as simple or as elaborate as you like.

The concept is to jot down positive blessings and experiences each day and drop them in a jar.  On New Year's Eve, empty the jar and as you celebrate the New Year, take a few minutes to review your past year blessings.

The materials needed are a jar, slips of paper and a pen/pencil.  

Of course, I couldn't leave my jar unaltered and created a label.

Below you'll find three label options that can be printed and attached to your jar with decorative ribbon; resized to print on Avery labels; or simply print on regular paper, cut out and use double stick tape or glue to attach to your jar.  Feel free to use as you like!

~~~~ Click on image to download ~~~~


https://drive.google.com/file/d/0B8rBEr2gbzAmWG5lQjdqbWhhQXc/view?usp=sharing

https://drive.google.com/file/d/0B8rBEr2gbzAmb2ZtVnlCd1Q2UkU/view?usp=sharing

https://drive.google.com/file/d/0B8rBEr2gbzAmVUk2QWNGVk9HeGs/view?usp=sharing

Do you have a method for tracking and reviewing the blessings in your life?  Do you use a journal or have you created a Blessings Jar?


Your comments are greatly appreciated and I look forward to your thoughts and ideas!  I try to respond to comments via email as soon as I can. If your email address isn't available, I will comment here. Thanks so much for visiting!

Shared with:

Stocking Stuffers for Your Pup

Each Christmas morning, we have such a blast watching our pups retrieve and tear into these pet-friendly stocking stuffers.


They are easy to make with items you probably already have:


  • Empty paper towel cardboard centers
  • White tissue paper
  • Brown kraft paper (or plain white paper)
  • Pup treats - Pup-Peroni or Beggin' Strips work well
  • Paw labels (optional)

Cut paper towel roll into three equal pieces, tear tissue paper into half sheets, and cut or break pup treats into appropriate sizes for your pet.  


Wrap a treat in a half sheet of plain white tissue paper and stuff into cardboard roll.  


Wrap the treat filled cardboard roll in plain brown kraft paper, twisting ends to secure (no tape needed).


This year I added the round paw labels just for fun.  


I created them in Word for Avery 5293 round labels by copying a free paw graphic online and pasting it into the label template and printing.  There's no risk of our pups consuming the toner - they ignore the center of the stuffers and go right to the ends to pull out the tissue paper.  


The pups have a lot of fun when they pick up the scent of the treat, and rip into the tissue paper to pull it out and find the hidden treasure.


We've also noticed that each pup has their own method for unwrapping --- one will tear thru end of the cardboard roll to quickly get to the tissue paper covered treat.  Another will very carefully and deliberately pull the tissue paper from the roll in small pieces, eventually reaching the treat.

Do your pups open Santa gifts or stocking stuffers on Christmas morning?  What types of treats do they receive?


AFTER CHRISTMAS UPDATE:

Both pups devoured the stocking stuffers again this year and it was so much fun watching them have a great time!


Your comments are greatly appreciated and I look forward to your thoughts and ideas!  I try to respond to comments via email as soon as I can. If your email address isn't available, I will comment here. Thanks so much for visiting!

Shared with: