One handy addition is this white shelving unit:

It's the Kallax shelving unit from Ikea and it fits really well into this space.

 |
| Kallax from Ikea |
It replaces this Leksvik bookcase (also from Ikea but no longer available) that was a little too wide.

Through the years, we've found Ikea pieces to be super sturdy and long lasting. In fact, the Leksvik bookcase above is many years old and is still in perfect condition.
Another positive is that Ikea items are easy to assemble - this came in very handy as I tackled this on a day hubby was out of town.
To my benefit, there was a nice booklet with illustrations for each step of the assembly, along with a bag of all hardware, wall anchoring brackets, and even an assembly tool - everything you need in one box.

Speaking of boxes, here's where I have to confess that the box was VERY HEAVY - it weighed 67#! And, as fate would have it, it was still in the back of my SUV and hubby wasn't home when I decided to assemble it.
Being stubborn ... uh, rather ... being determined, I left it in the back of my vehicle, opened the box and brought the contents inside in manageable trips. :)
That was honestly the most difficult step of the assembly - putting it together was a breeze.

Another impressive feature of the Kallax series is that the base, top and sides of the shelving unit are each approx. 1-1/2" thick.

Before investing time in putting it together, I placed the base on the floor to ensure the size worked well and it did.
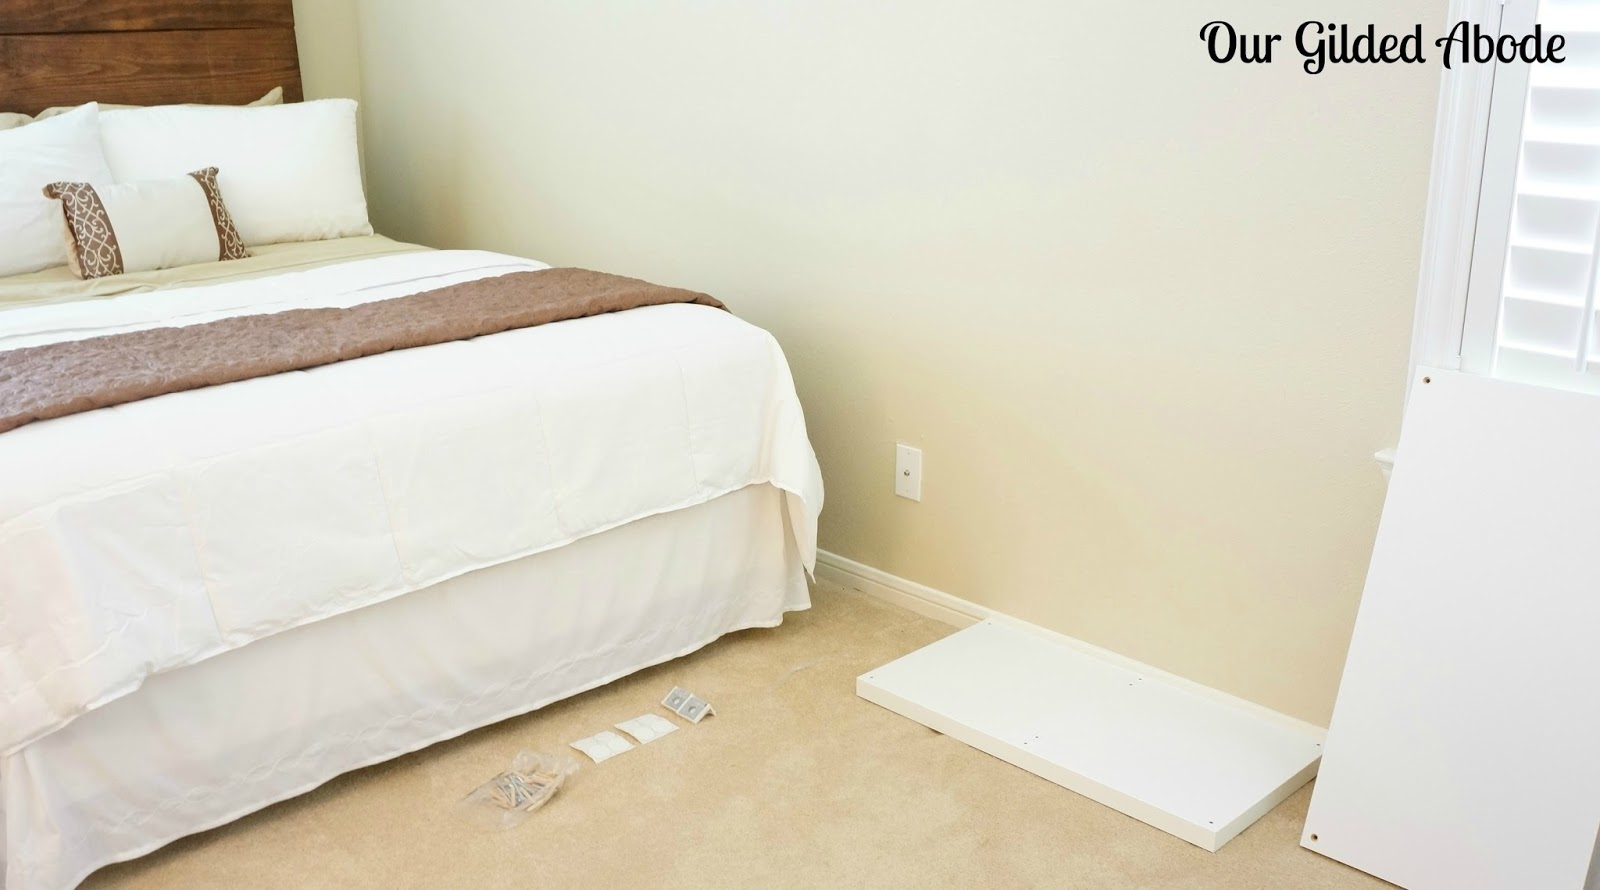
Above is a sneak peek at another new addition to the room - a DIY wood plank headboard - more on that soon!
A handy tip for using a rubber mallet is to cover the mallet head with a soft cloth (or in this case, an old sock!) to prevent damage or black marks on furniture pieces. And you guessed it - I learned this the hard way ... fortunately, marks were easily removed.

Following the instruction booklet, the shelving unit went together easily in about an hour.


We really do like the crisp clean lines and it provides great options for craft storage and organizing.
Standard fabric storage cubes fit perfectly and are available at most home decor stores. Or, Ikea offers drawer inserts and door options as well.

Do you have any Ikea pieces in your home? Are you as pleased with them as we are? Have you been brave enough to attempt assembling any yourself? :)

Your comments are greatly appreciated and I look forward to your thoughts and ideas! I try to respond to comments via email as soon as I can. If your email address isn't available, I will comment here. Thanks so much for visiting!

Shared with:


